Well hello there again! Today I wanted to show you my super easy solution for making great looking easy-sew DIY curtain panels. I love it when the length of a curtain panel perfectly brushes the floor but have you ever noticed that most curtains you buy end up being way too short? Seriously, why do they do that? No, in my mind curtains need to just hit the floor perfectly or for some folks, pooling a little bit on the floor is even better!
So, with that in mind, how about making your own? I know, it sounds a little involved especially if like me, you’re not a sewing guru. But fear not, I have an awesome, simple solution. Bed sheets! Yep, this is such a simple way to make easy-sew DIY curtain panels because 90% of the sewing is already done for you.
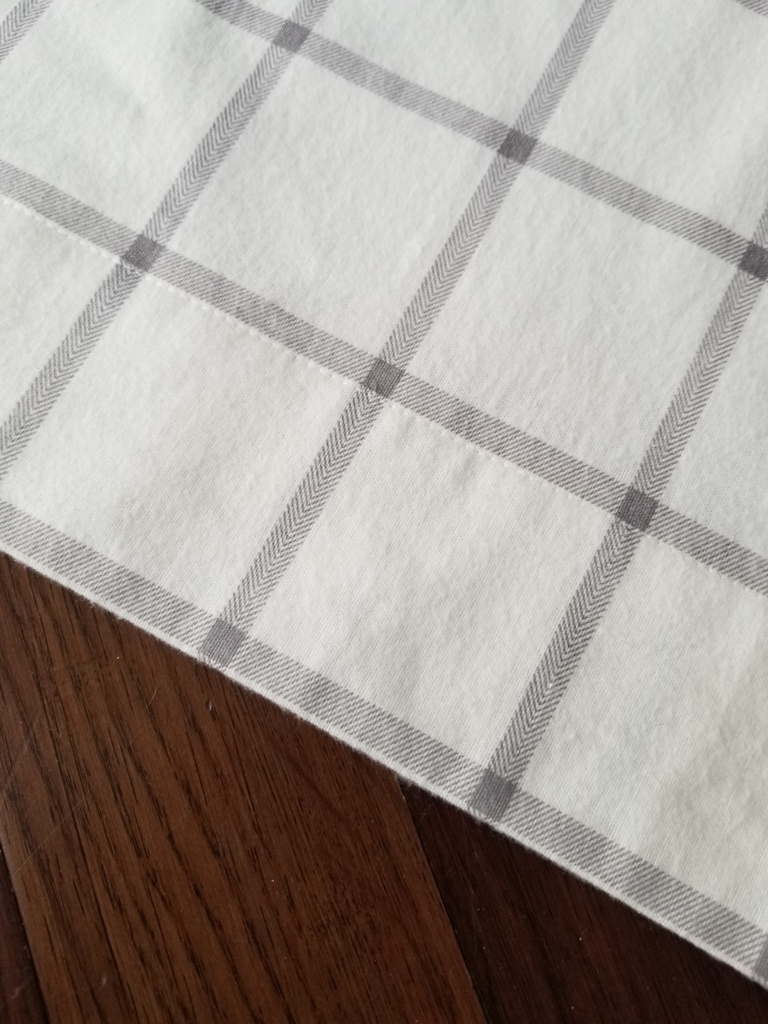
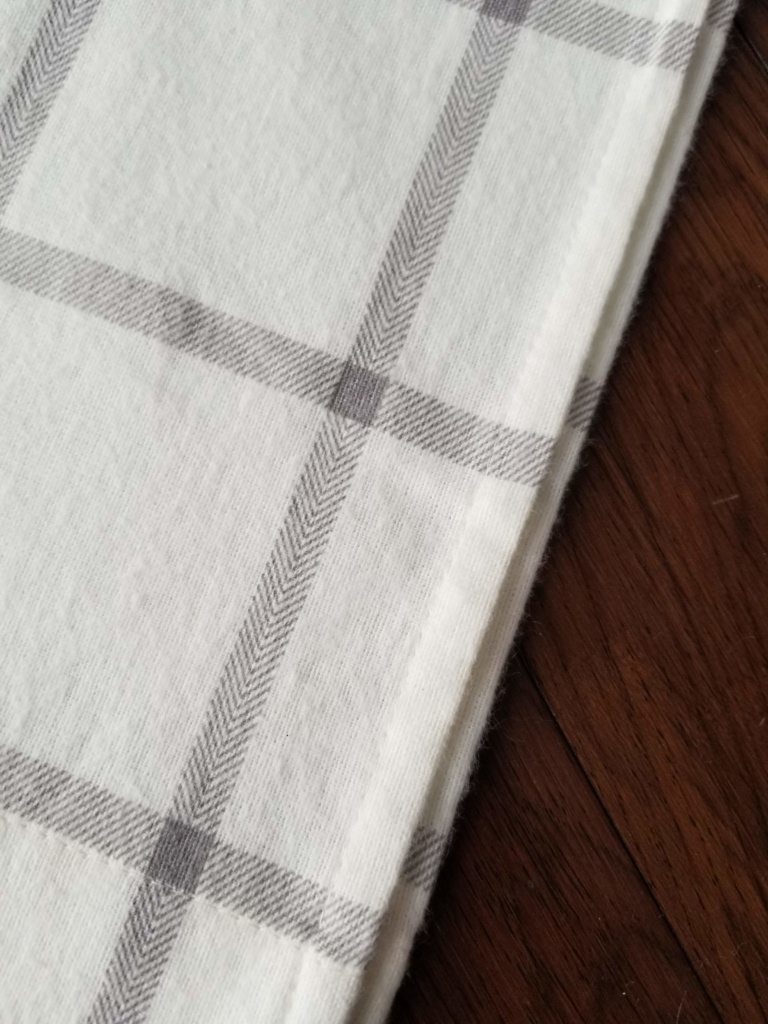
So here’s how it works. You can either pick up a king size top sheet, a sheet set or just use a top sheet that you already have. I’ve found so many cute styles and patterns that make perfect curtain panels. For my no-sew farmhouse style bench cushion project, I used the fitted sheet as the cushion cover and I’ll be using the flat sheet of that set to make curtain panels for my sons room. Trust me, you’ll find something to do with the extra fabric!
Anyhoo, it’s so easy and honestly, if you hate sewing, don’t have a sewing machine, or maybe you can’t figure out how to thread your sewing machine (cause that’s never happened to me…ever), then you can still make these curtains with fabric tape. Basically you can glue them together and they will still look awesome!
Here are the materials you need to make these easy sew curtains panels:
- King size flat sheet
- Fabric cutting scissors
- Sewing machine with thread
- Measuring tape
- 2 sets of 8 grommets (16 in total) like these
- Pins
- Iron and ironing board
- Fabric tape like this that you can iron on (optional)
Here’s how you make these easy sew curtain panels:
Preparation:
- Wash and dry your fabric to pre-shrink it.
- Iron the sheet (this will help with your measurements).
- Lay the sheet out on the floor (face down) so that when your looking at it, the top of the sheet (with the wider hem) is actually at the bottom of what will become your curtain panel.

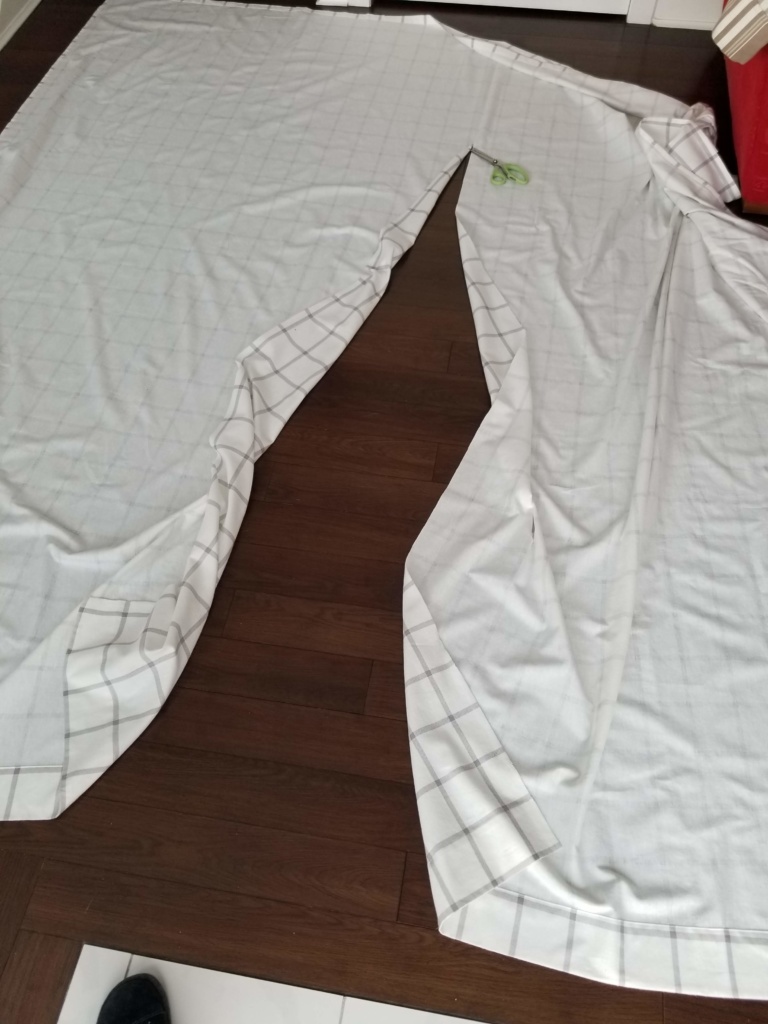
- Fold the sheet in half so that the two finished edges are lined up together on the outside and iron in the new crease so that you have an easy cut line to follow.

- Lay the sheet out flat again and cut the sheet along the crease with a good pair of fabric scissors. Set one panel aside.

Measuring:
- Measure from the top of your curtain rod to the floor (if you want the panel to skim the ground). This will be your total length measurement for each panel.
- Add 10 inches to this measurement to allow for a 5 inch top hem. You will be adding the grommets to this hem.
- From the top of the fabric, measure down 5 inches and fold the fabric at that measurement.
Sewing:
- To get a nice finished edge (even though it’s on the back side of the curtain) fold the bottom of this top hem under about a half-inch.
- Use pins to secure the fold at the bottom and then iron in the crease.
- Using a sewing machine, sew along the bottom of the top hem (where your pins are) and slowly remove the pins as you go.
- For the one unfinished edge down the side of the panel (where you made the cut), simply fold it over twice (about a half-inch for each fold), pin, iron and sew it up.
- And finally, the last step is to add your grommets to the top hem of your panel (directions are provided on the packaging).
Not a Fan of Sewing?
If you are an ‘anti sewing machine’ kinda person, (which I can totally relate too) you can follow the exact same steps as above, but instead of sewing, use fabric tape underneath the fold to bond the fabric together. It’s heat activated so you simply iron the hem in place and you’re good to go
Tip:
Remember the total length measurement you took from the floor to the top of your rod? Well, the inside rim of your grommet needs to be placed at the top of that measurement. So if the total measurement was 96 inches from the floor to the top of the rod, the inside top edge of your grommet should be placed at 96 inches. This should leave you with about an inch of fabric above the top edge of the grommet.
Now just get that second panel done and you should have a beautiful, custom pair of easy-sew DIY curtain panels that everyone will love. The best part is that it’s affordable and it’s a pretty, simple way to add a beautiful warm touch to any room.

Leave a Reply